 |
| One of my wall holes, with new wires |
Prior to the popularization of drywall in the 1950s, interior walls were made of lath and plaster. The
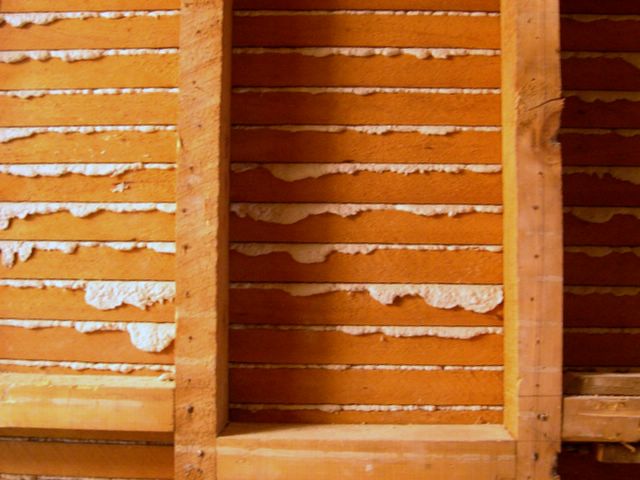 |
| Lath and plaster wall, from Wikipedia |
Naturally, my walls are lath and plaster and not drywall. This post is about how to patch holes in a lath and plaster wall.
The procedure goes like this:
- Clean the hole to remove loose wood shavings or bits of plaster.
- Glue some sort of backing behind the hole.
- Mix up some plaster material and put it in the hole on top of the backing. If you didn't manage to get the hole all the way filled, you will need to do another coat after the first is dry.
- Sand down the patch to be flush with the wall, if your trowel work was suboptimal (mine certainly was).
- Prime paint the new surface.
- Apply the top coats of paint to match the rest of the wall.

 You need to put a backing behind the hole so you have something for the plaster to stick to. They make special screen material for this purpose, or you can do what I did and just use some paint stirrers and glue them in as a sort of artificial lath. Home Depot and Lowes give away paint stirrers for free (yay!). I cut the paint stirrers to the correct sizes for each of the holes. I even wrote my name and the date on them in case anyone deconstructs the wall at some point and bothers to notice the patches. I drilled two little holes in each of the sticks. This was to help me hold them in place while I was gluing them to the inside of the walls. I set them into place on the wall's interior surface with some wood glue where they were to join the real lath, threaded some brass wire through the holes, and tied off the brass wire around some pencils to hold them in place while the glue dried. It worked very well, and the wood glue dried quickly and very solidly.
 When all the holes had their backing, I had to do the plaster. At the recommendation of the guys at Home Depot, I went with Rapid Set® OnePass® Wall Repair and Joint Compound. This stuff was pretty easy to work with. You just mix it with water (trying not to breath in too much of the dry powder, which isn't good for you), and then daub it into the holes with a trowel. I didn't have a lot of luck with my trowels. I think my trowel work needs some practice. The holes were kind of deep, and I found that the plaster would sag at the bottom of the hole and hollow out at the top, so I had to do two coats to get it flush with the surface all around. For mixing this stuff, up, an old aluminum pot worked really well because the chemical didn't eat it, and if you don't use all the plaster, it will harden and then break off, so you can reuse the pot (obviously not for cooking).
 |
| Drying plaster patch |
 |
| After sanding |
 |
| After priming |
After the sanding was done and I wiped up all the dust, I prime painted the new surfaces. Note: Don't use the disposable spongy paint brushes with shellac-based primer because it's so watery that the spongy brushes just swell up and become useless.
The next step (when I get inspired) will be to do the top coat of paint. I don't know the exact paint colors, so I will have to see if they can be matched. Stay tuned for a post about paint color matching technology at some point.
Oh, and there are still some holes in my closet and bathroom ceilings that I have to fix, but that's a project for another day.
There is wide decision of strong tongue and furrowed strip flooring accessible which his accessible in European Oak, French Oak, American Black Walnut, Wenge, Distressed Oak, Reclaimed Pine and Merbau.flooded basement repair
ReplyDelete